
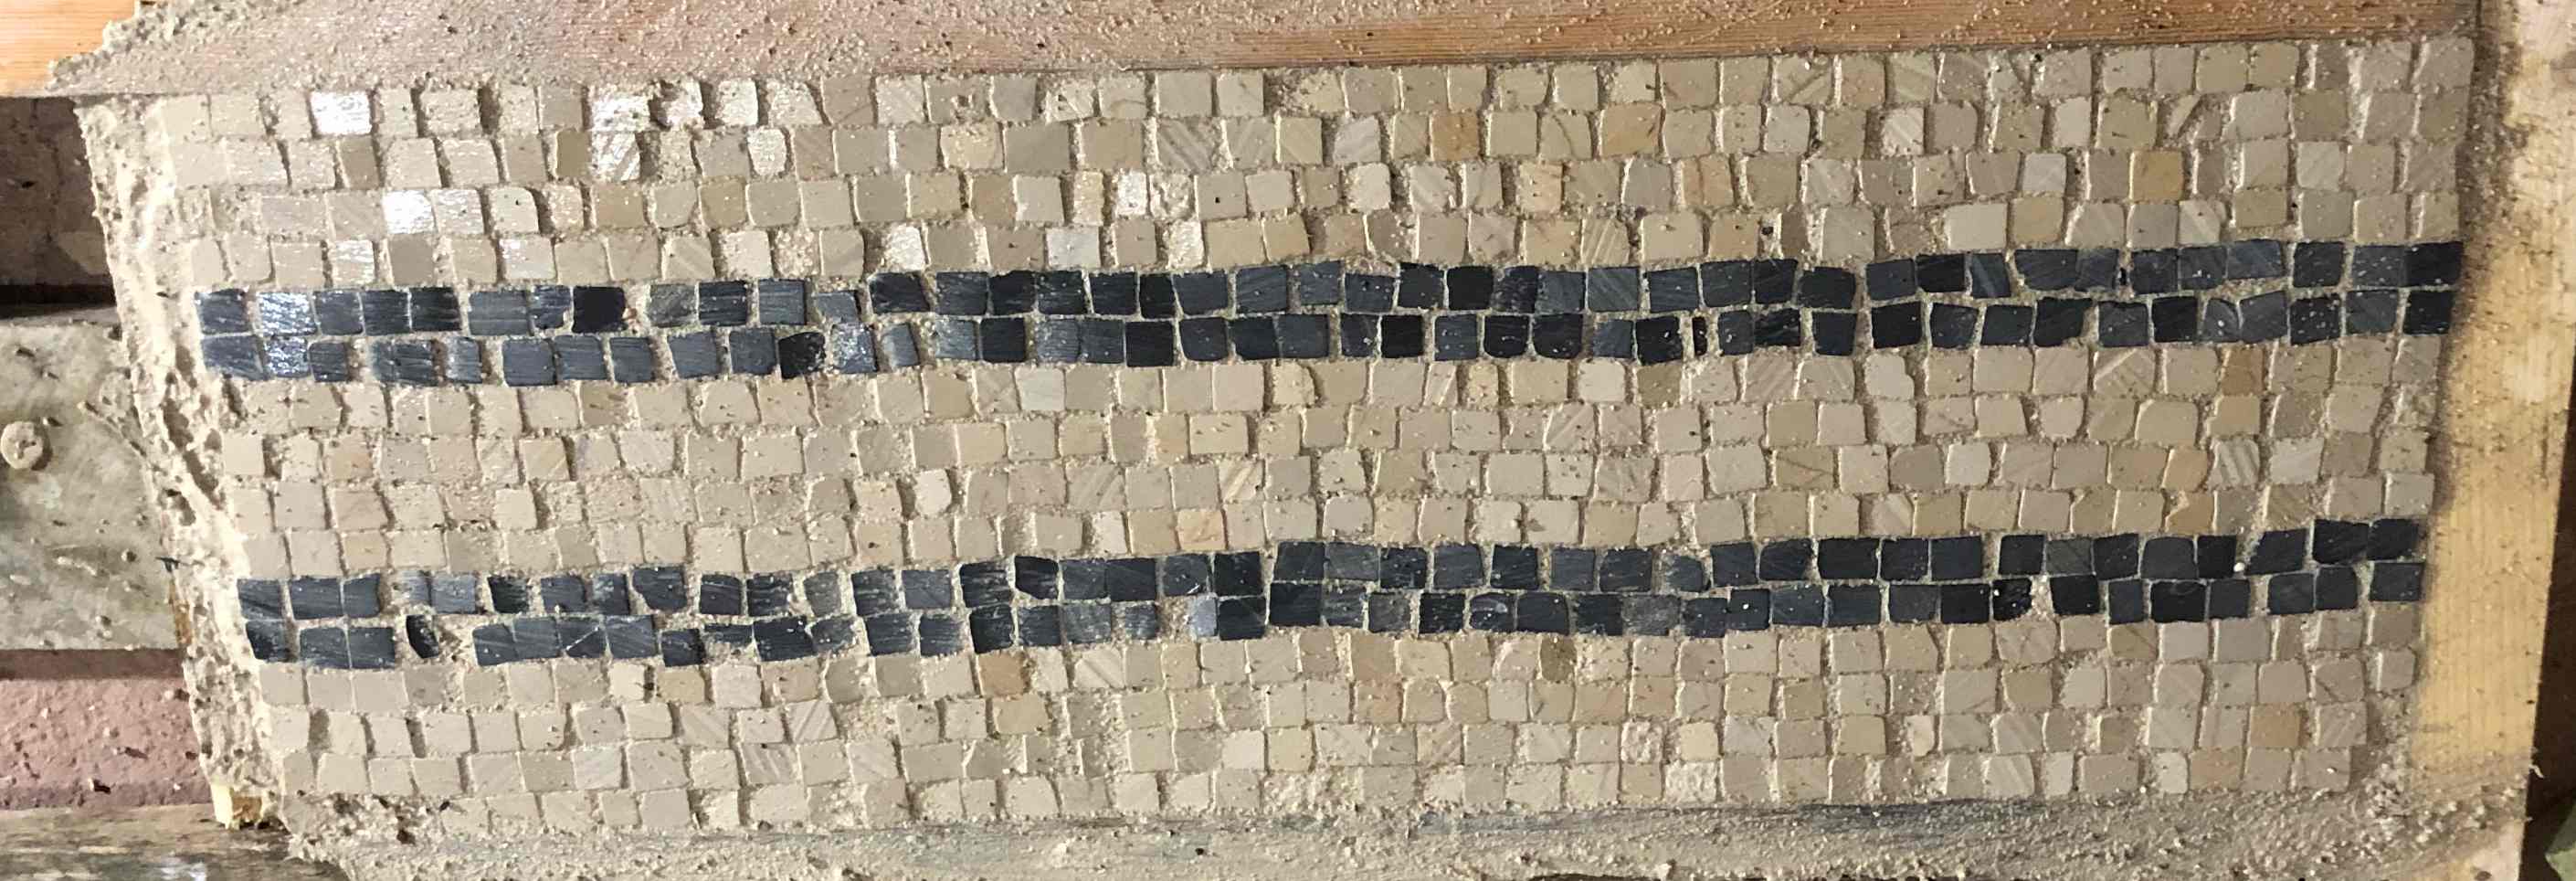
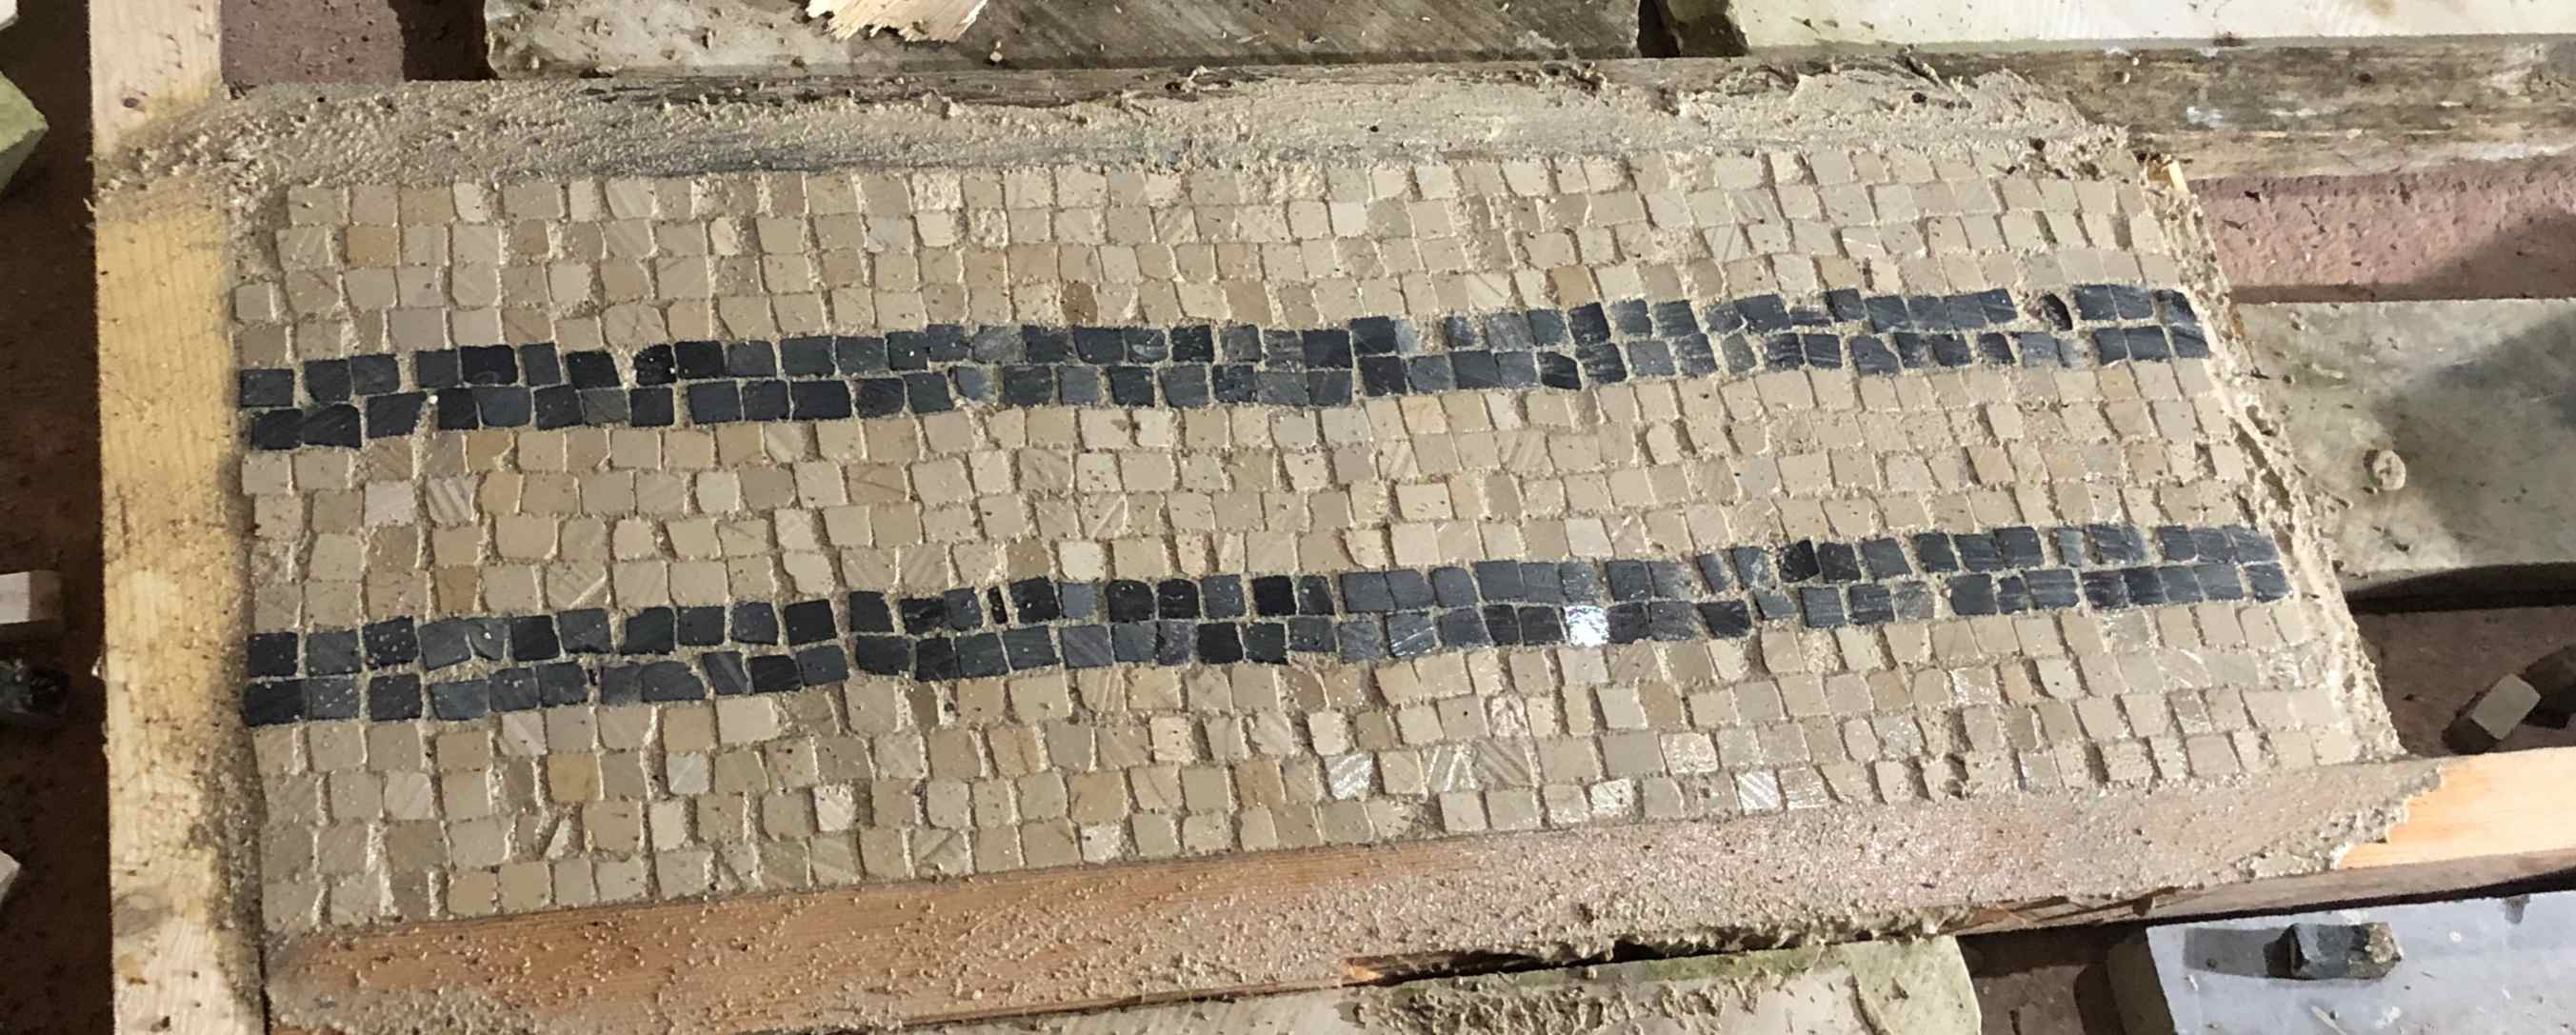
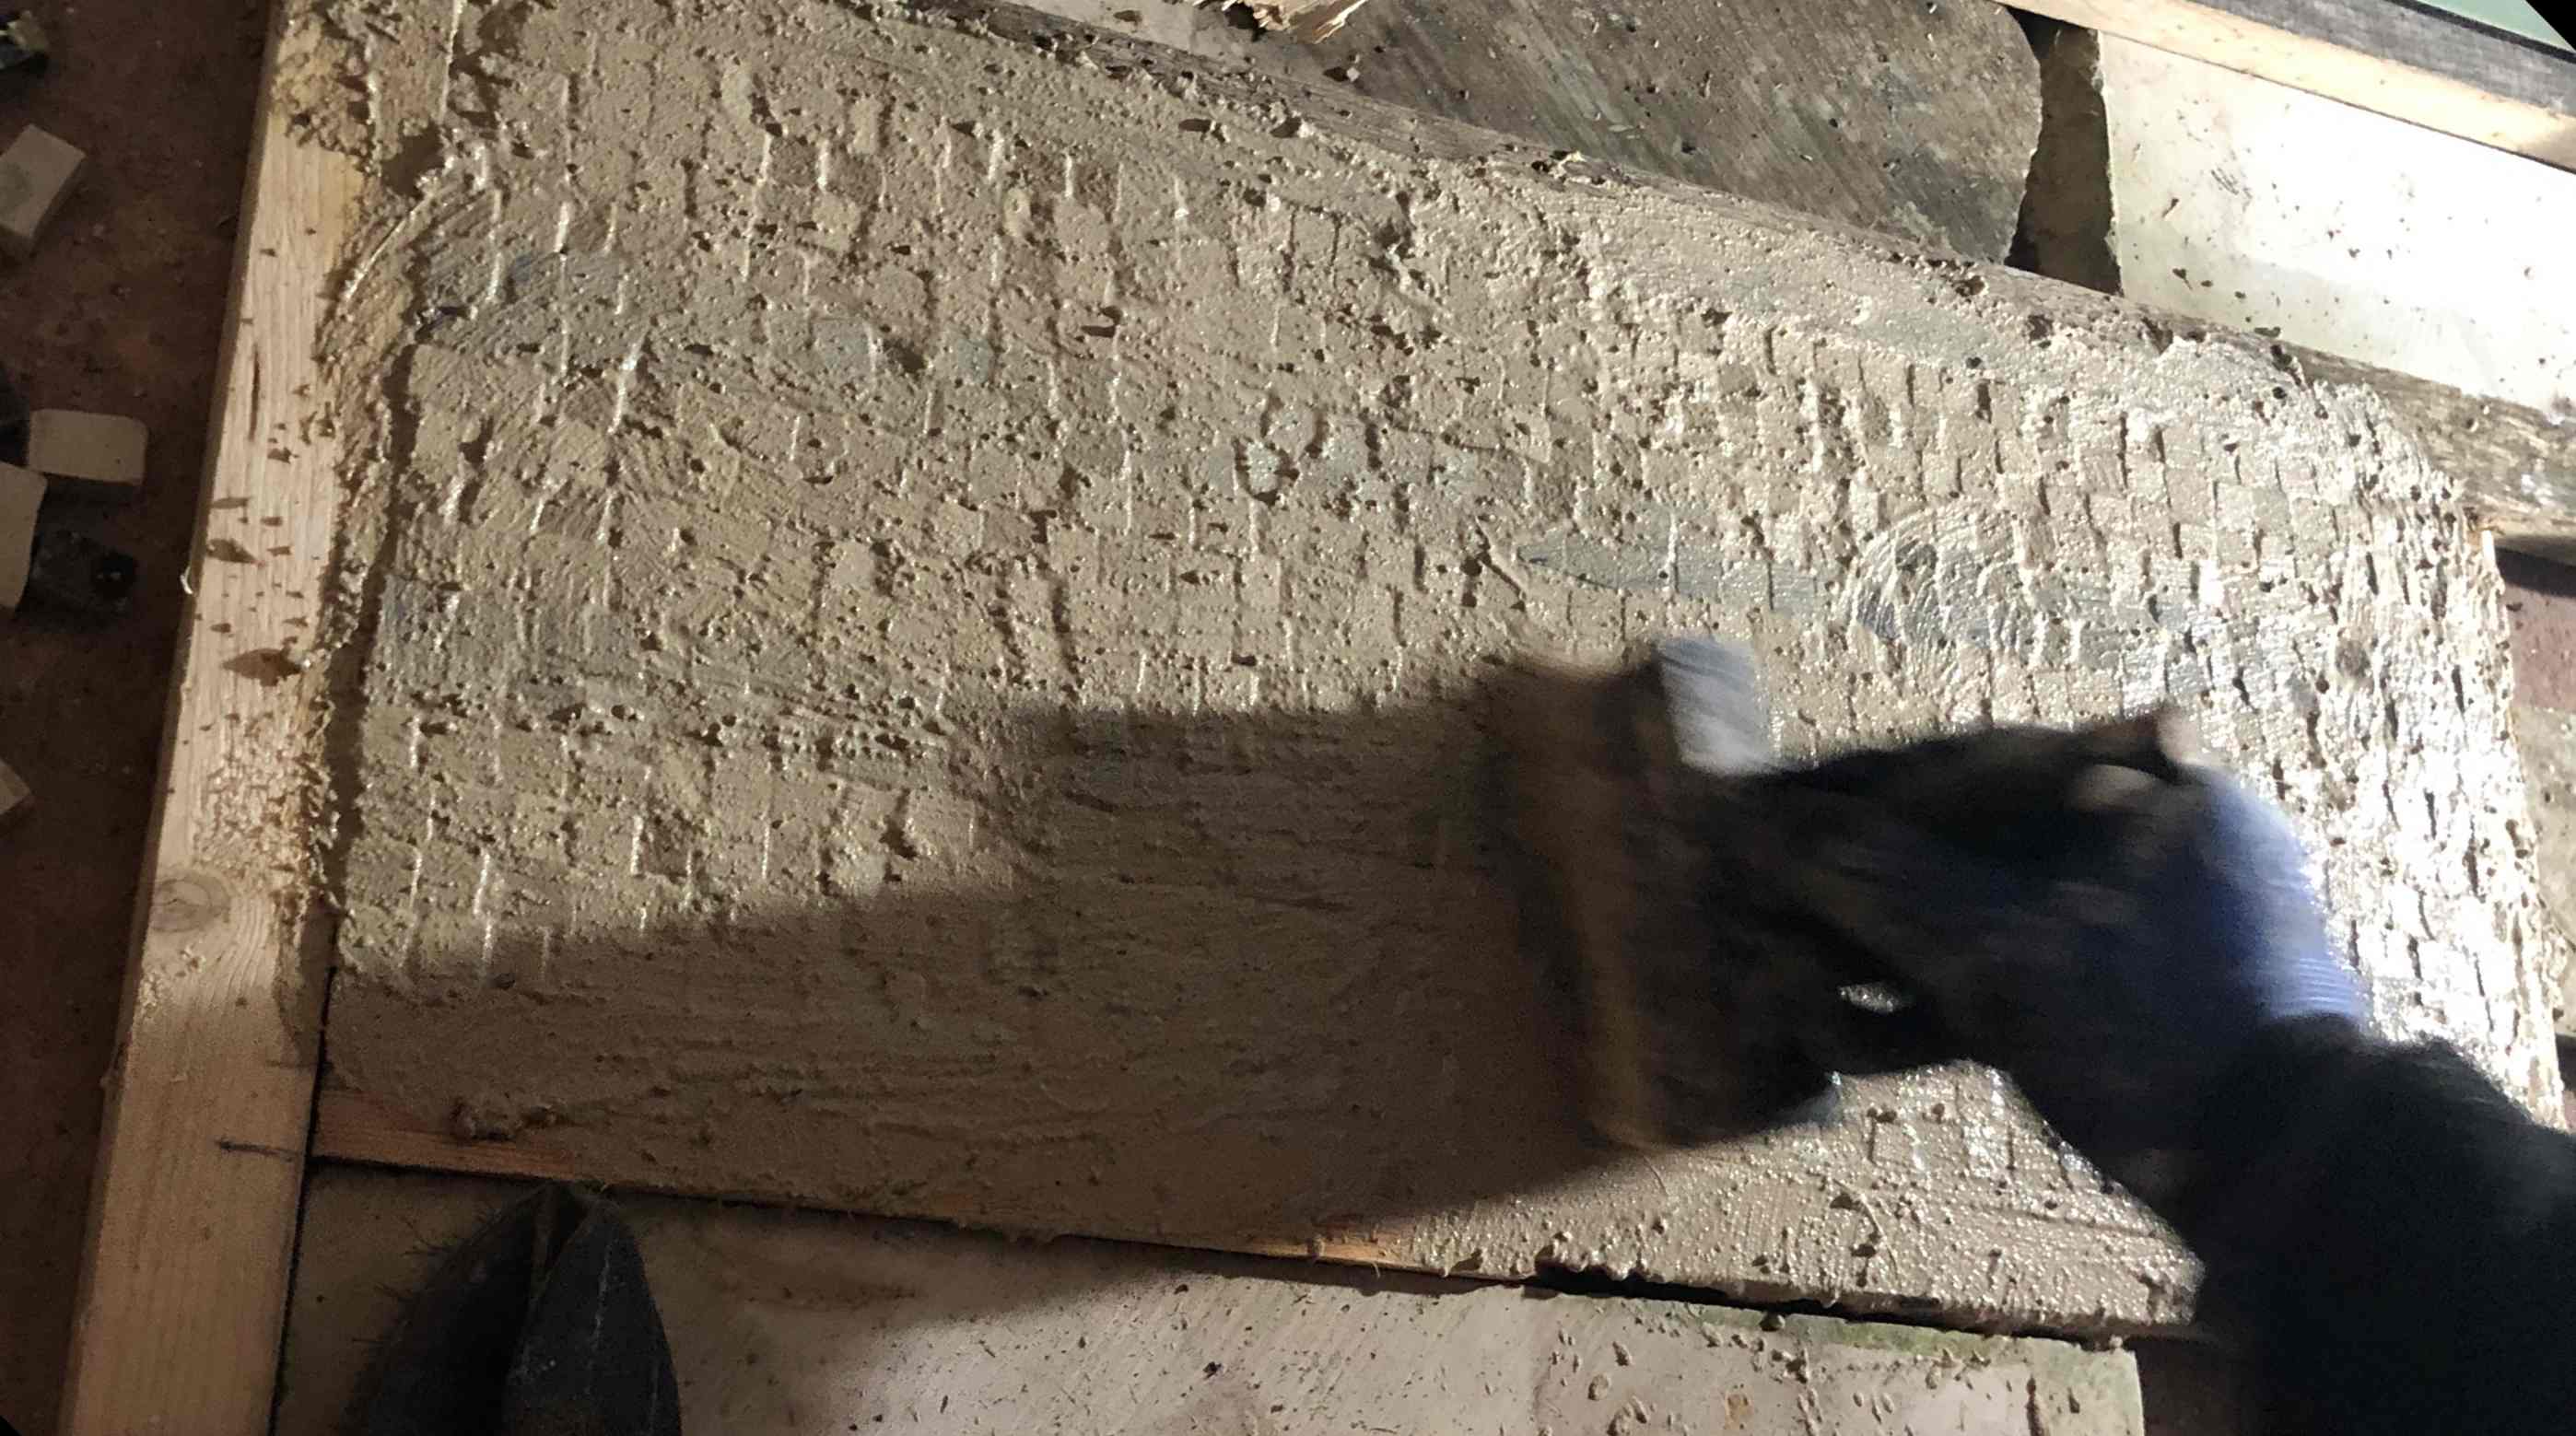
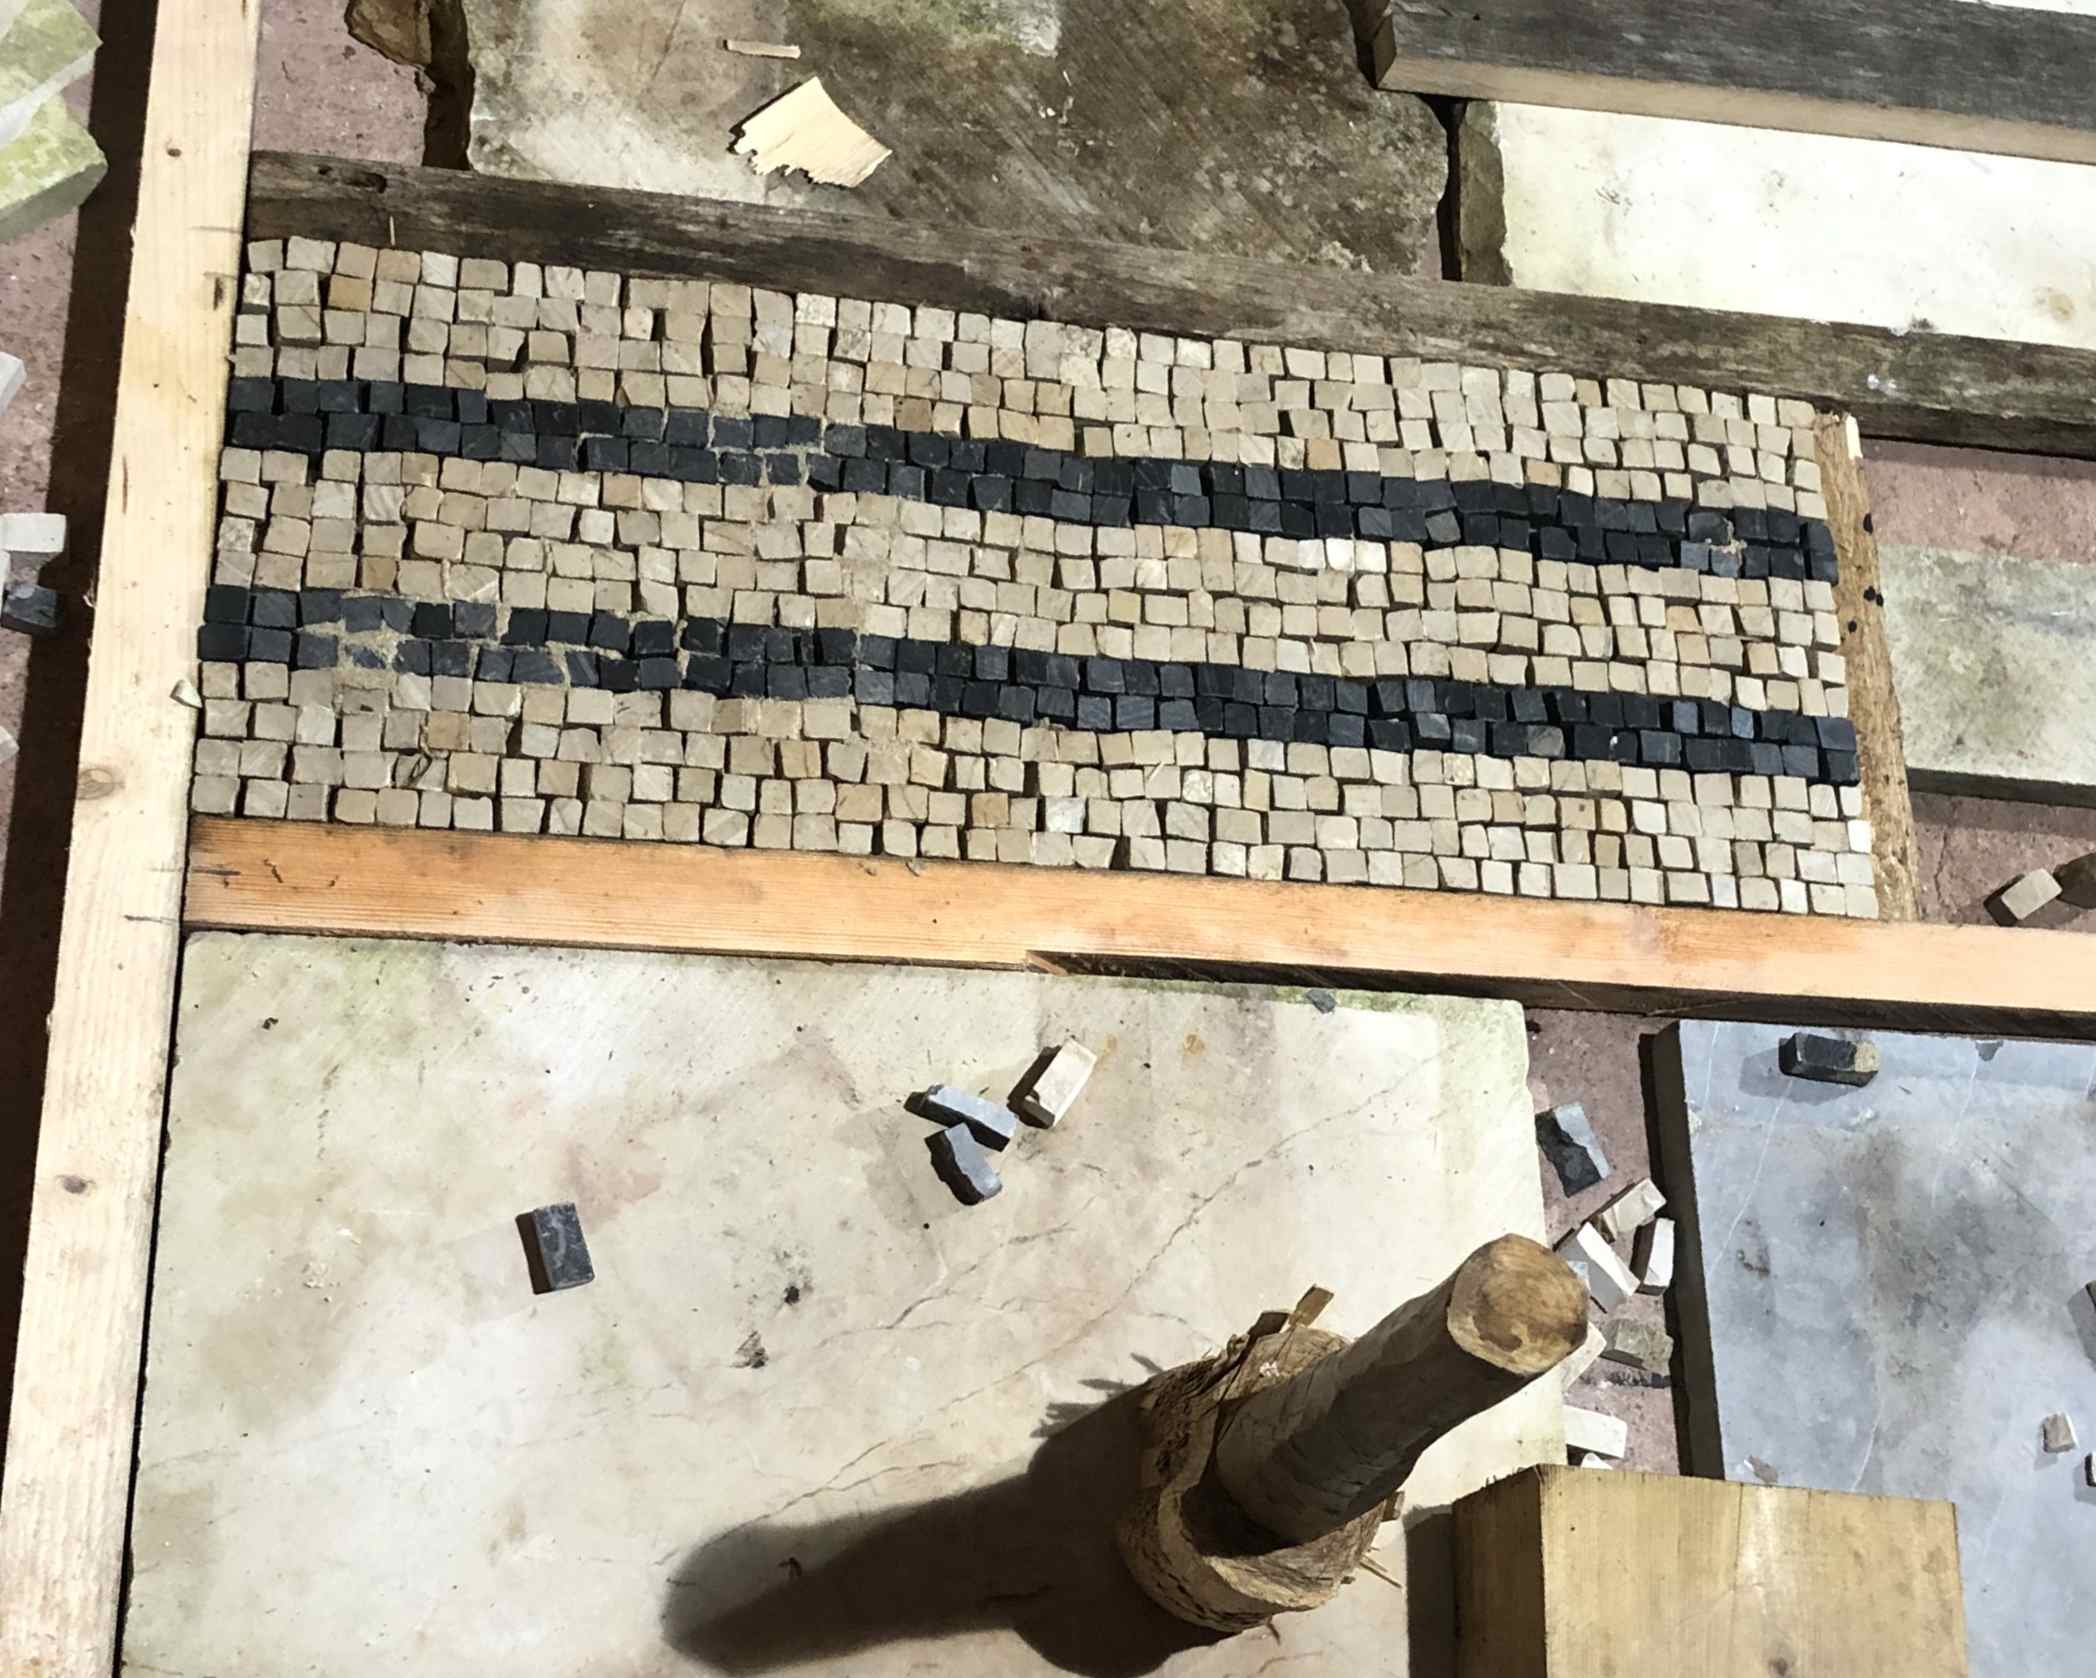
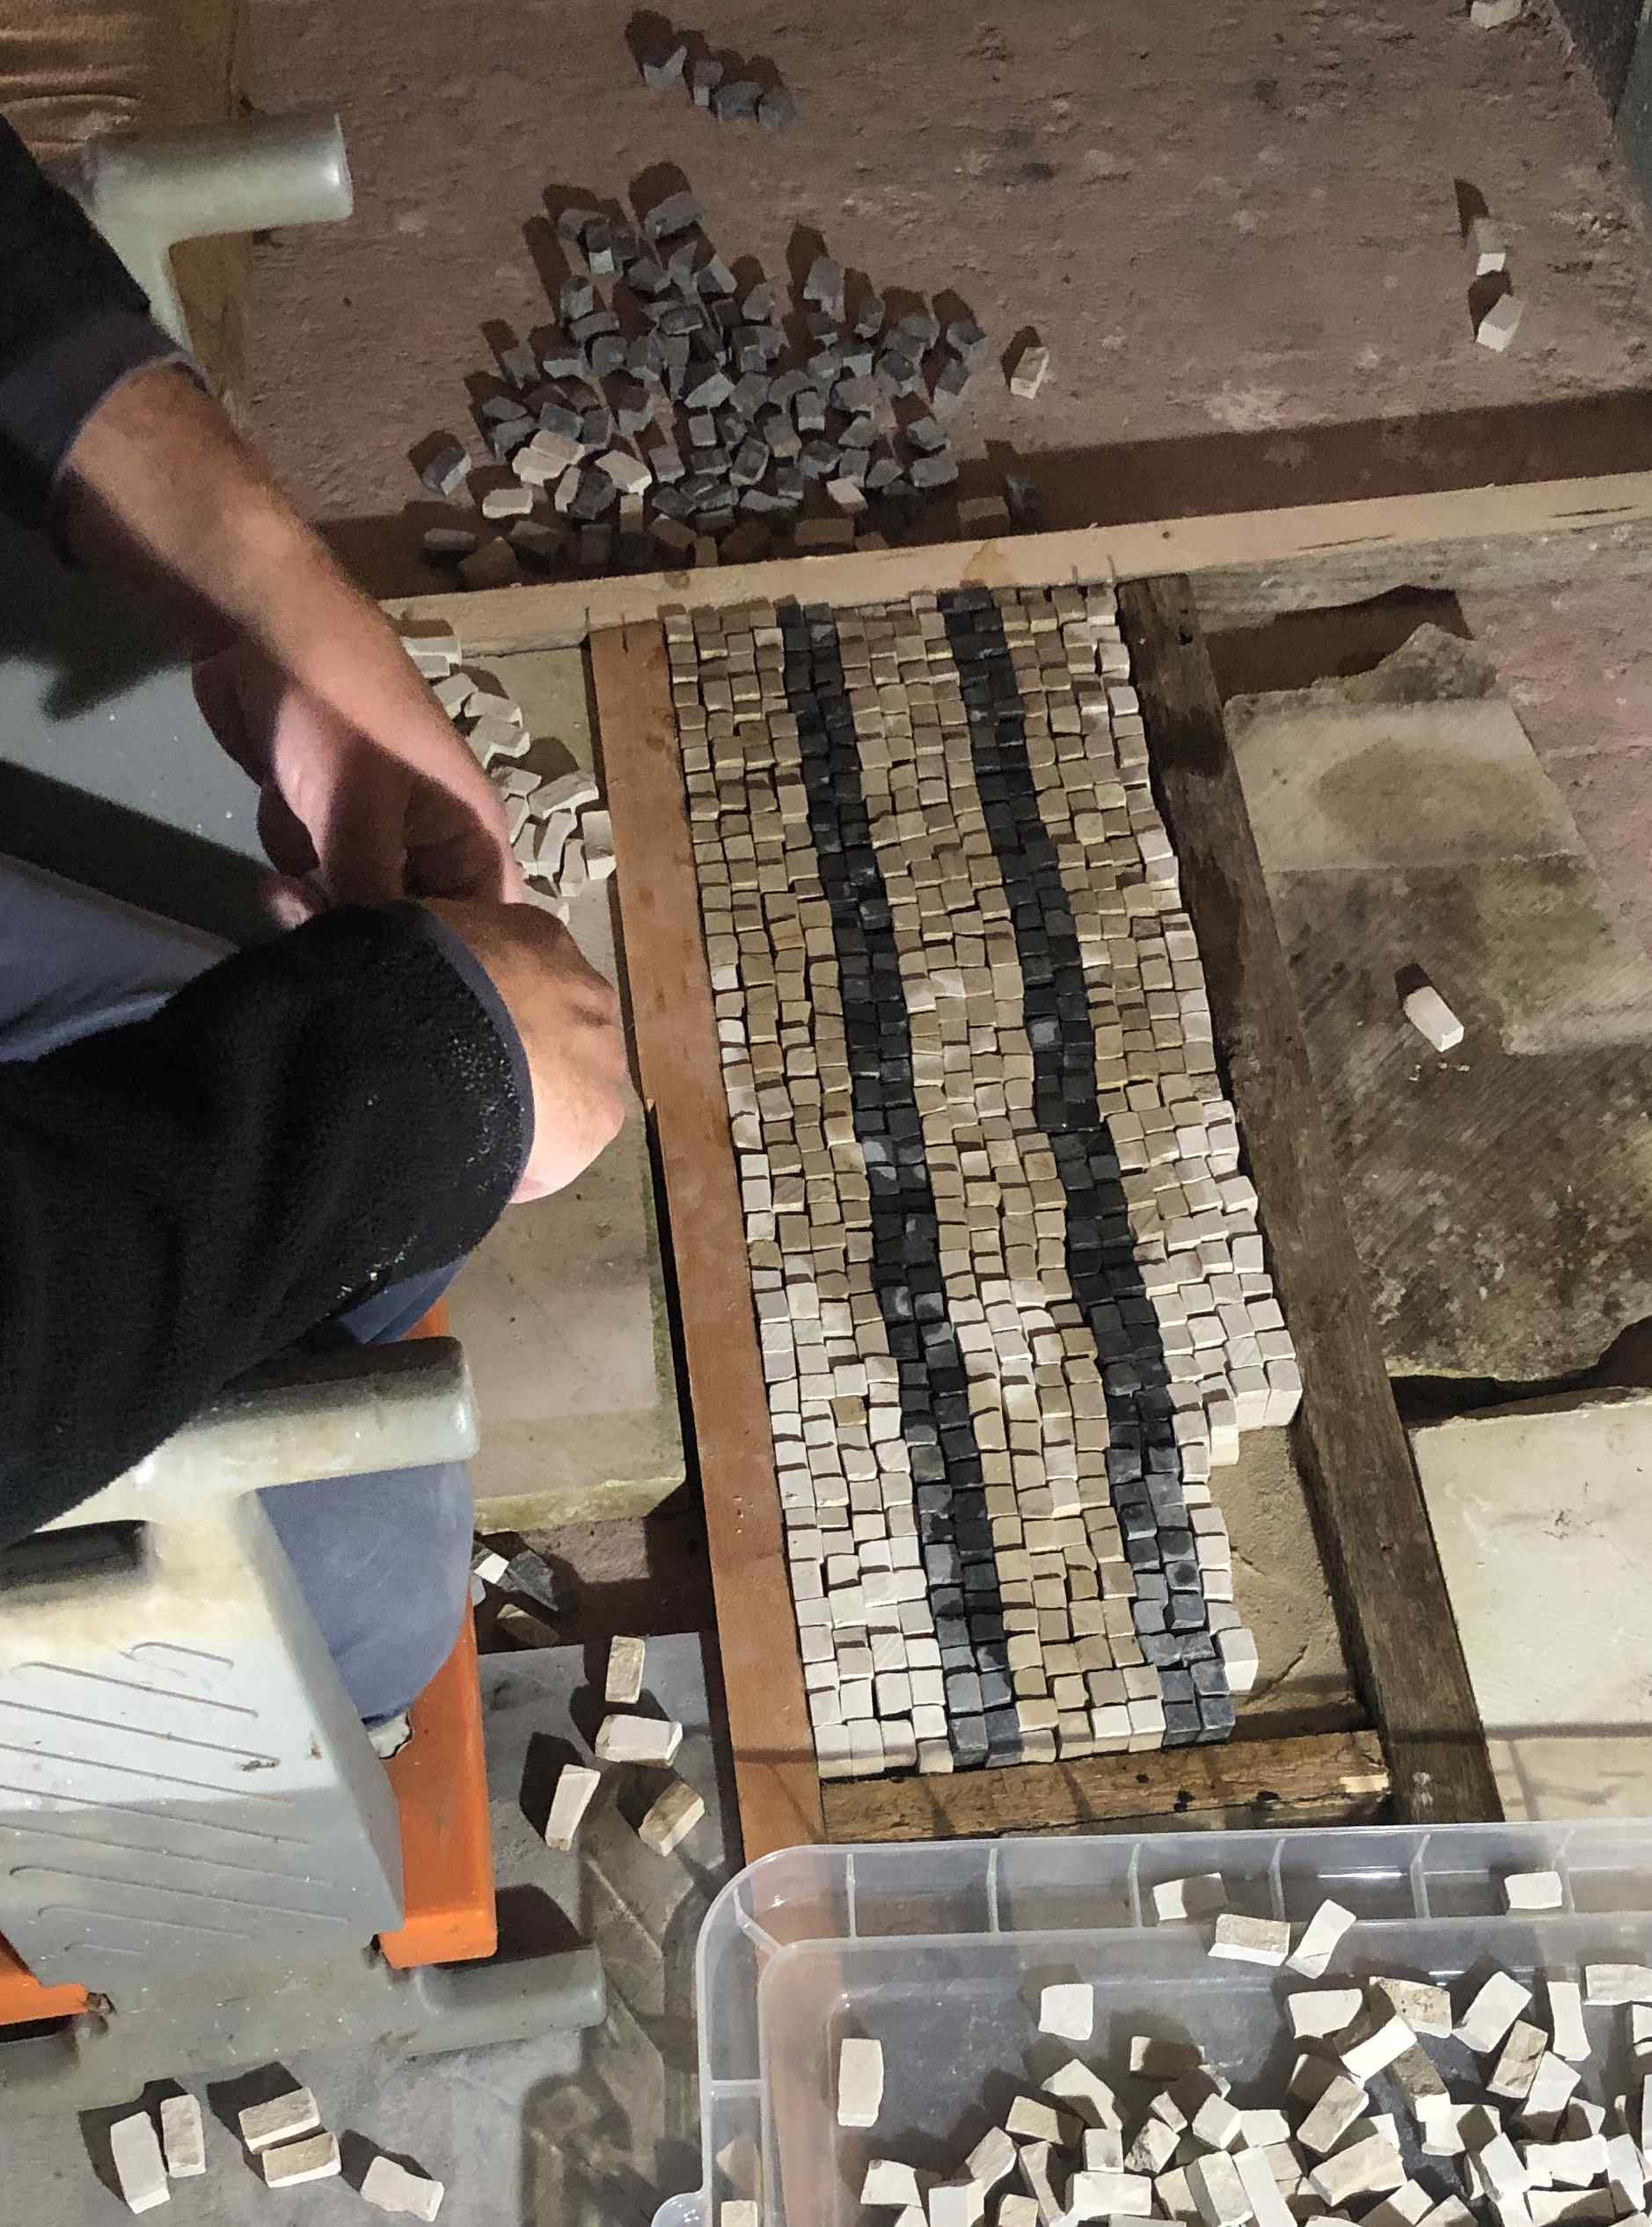
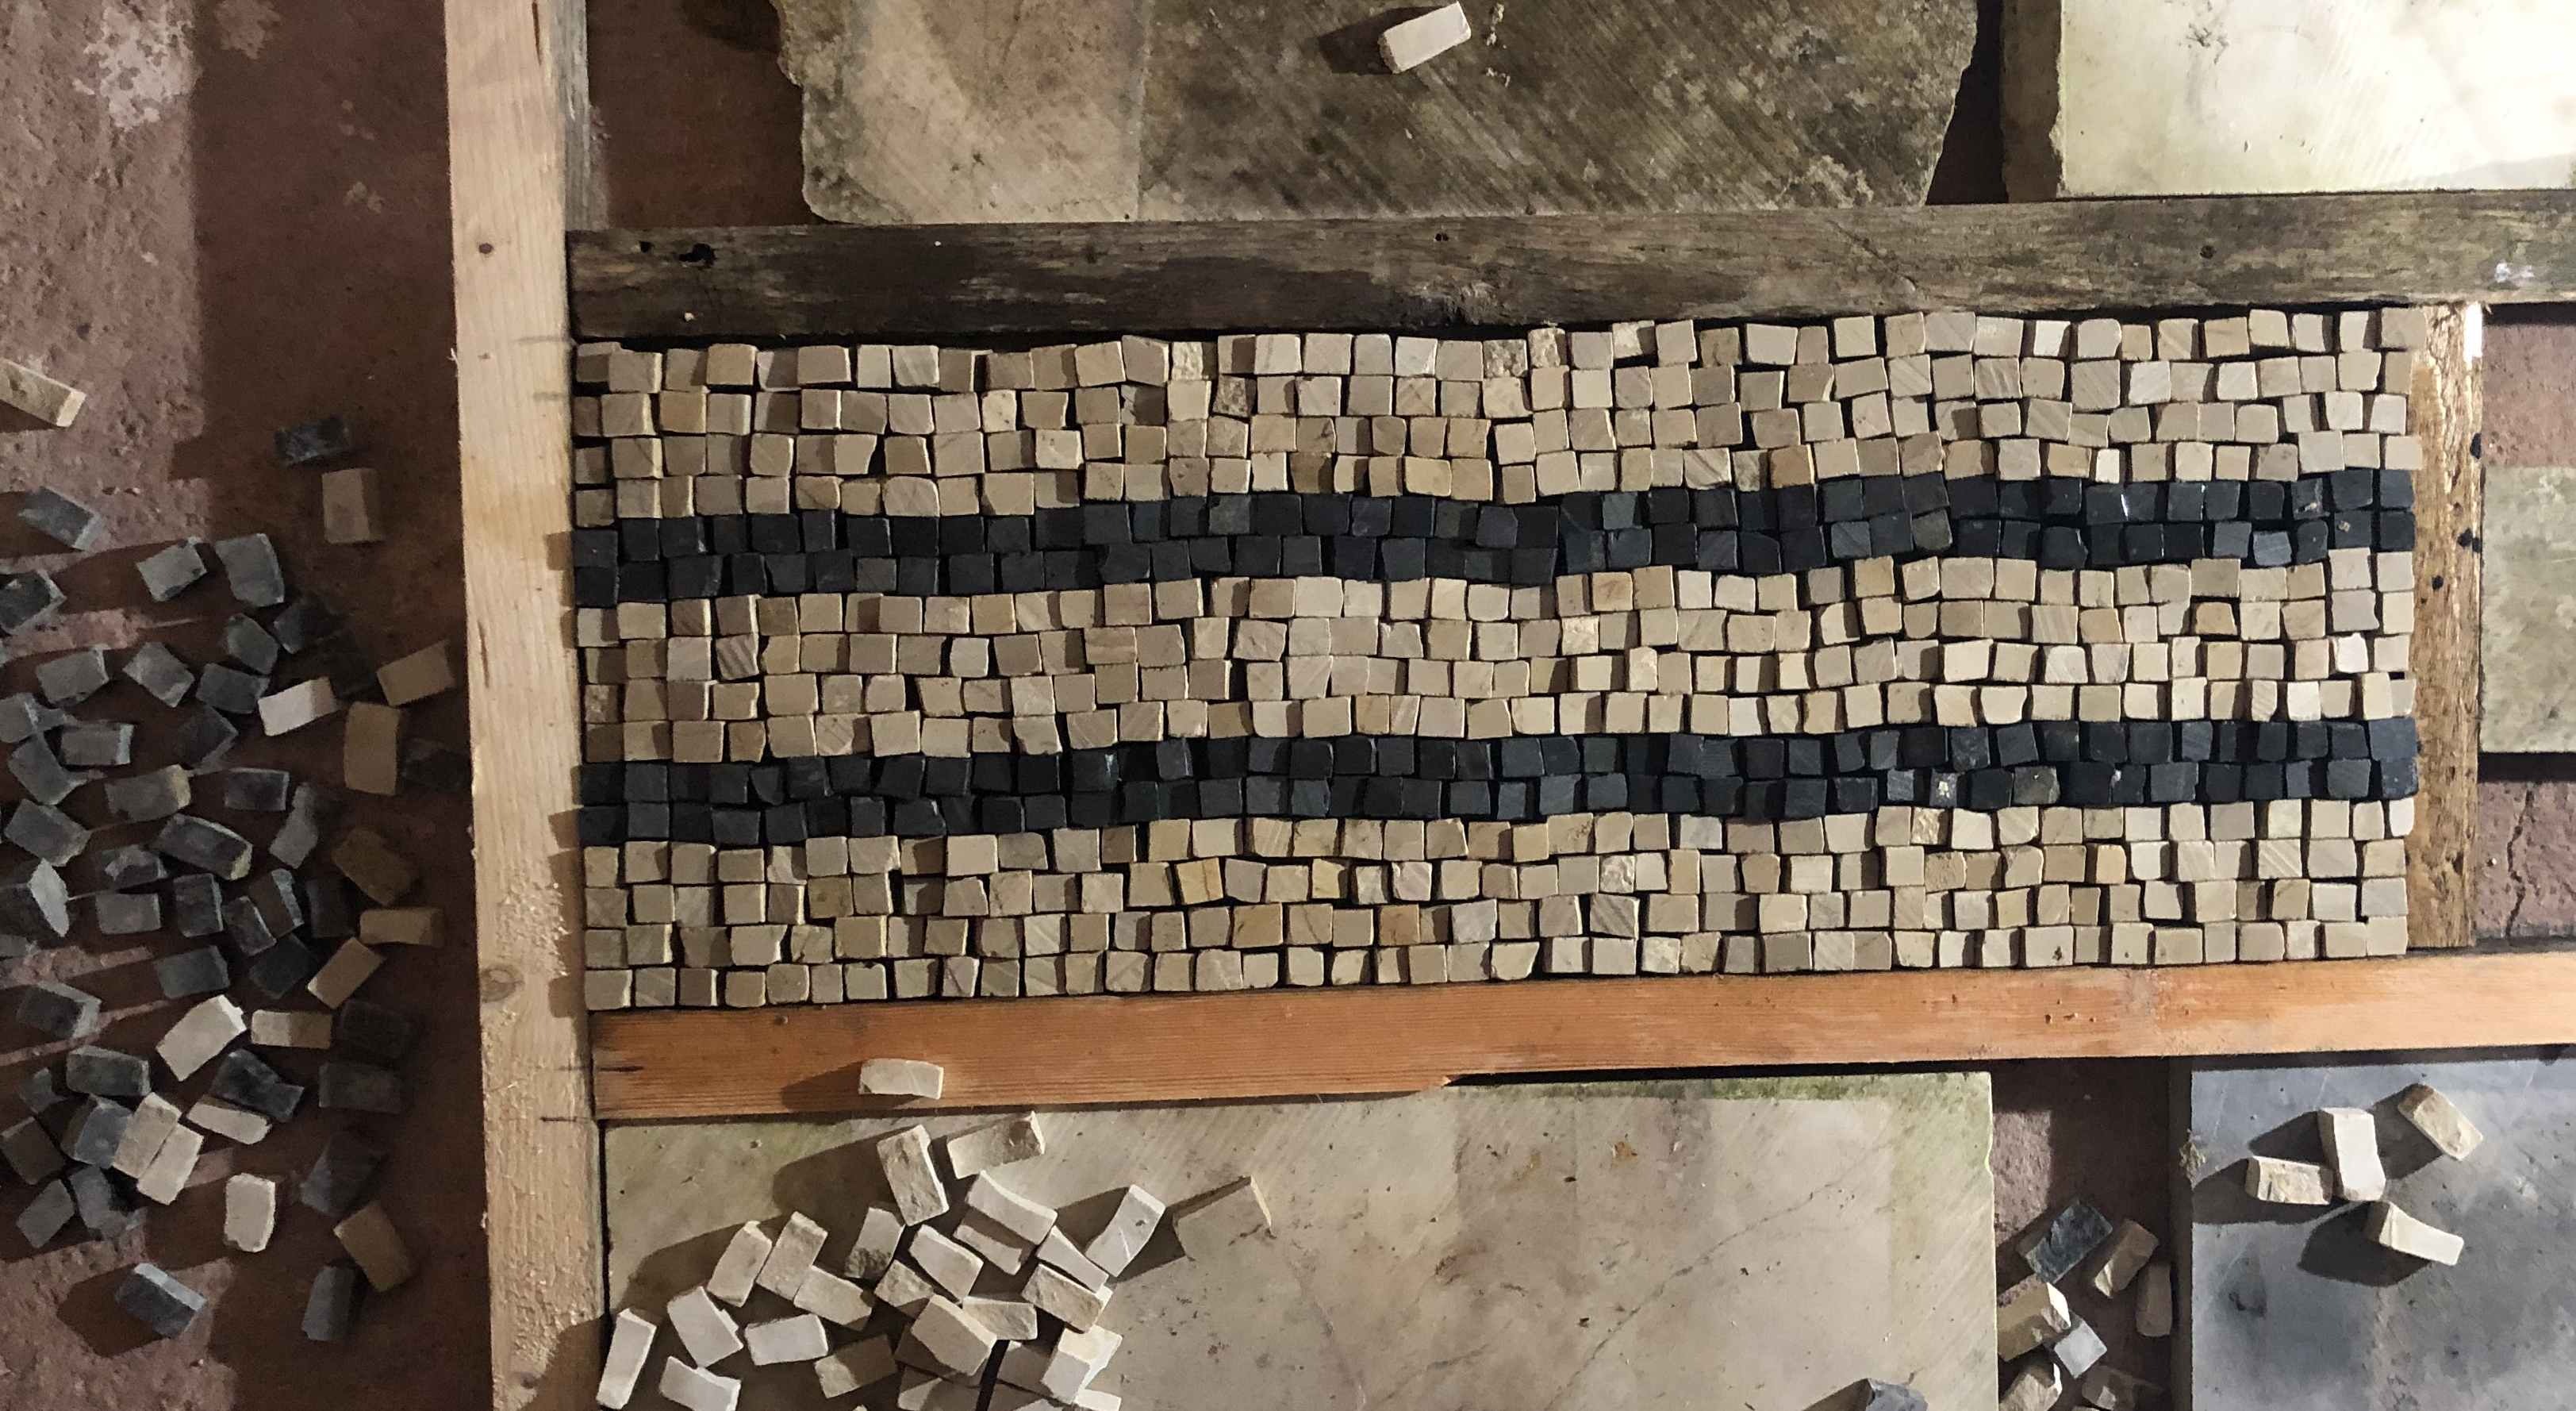

The laying of the mosaic began at last this week with a patch of the black and white border, within a wooden frame set to the final depth (35mm). The screed was thoroughly wetted, as it would draw the moisture from the mortar (a very fine lime mortar from Limebase), which was laid to a shallow depth of 10cm. The lines of tesserae were then placed as close together as possible and tamped down under a wooden board, violently and repeatedly struck with a mallet. This drove the tesserae down and pushed the mortar up betwen them. A thin wash of mortar was then brushed into the cracks to fill the remaining voids, with the excess gently sponged away.

I think it is important you start laying the pattern from the centre( string diagonally from corner to corner and intersection taken as centre. In the 70s and 80s I laid a number of tiled floors ,cork and vinyl. At the edge if you cant get a full pattern in, you put you edging pattern